Launch a paid group quickly
Create your whop
Head over to whop.com/sell: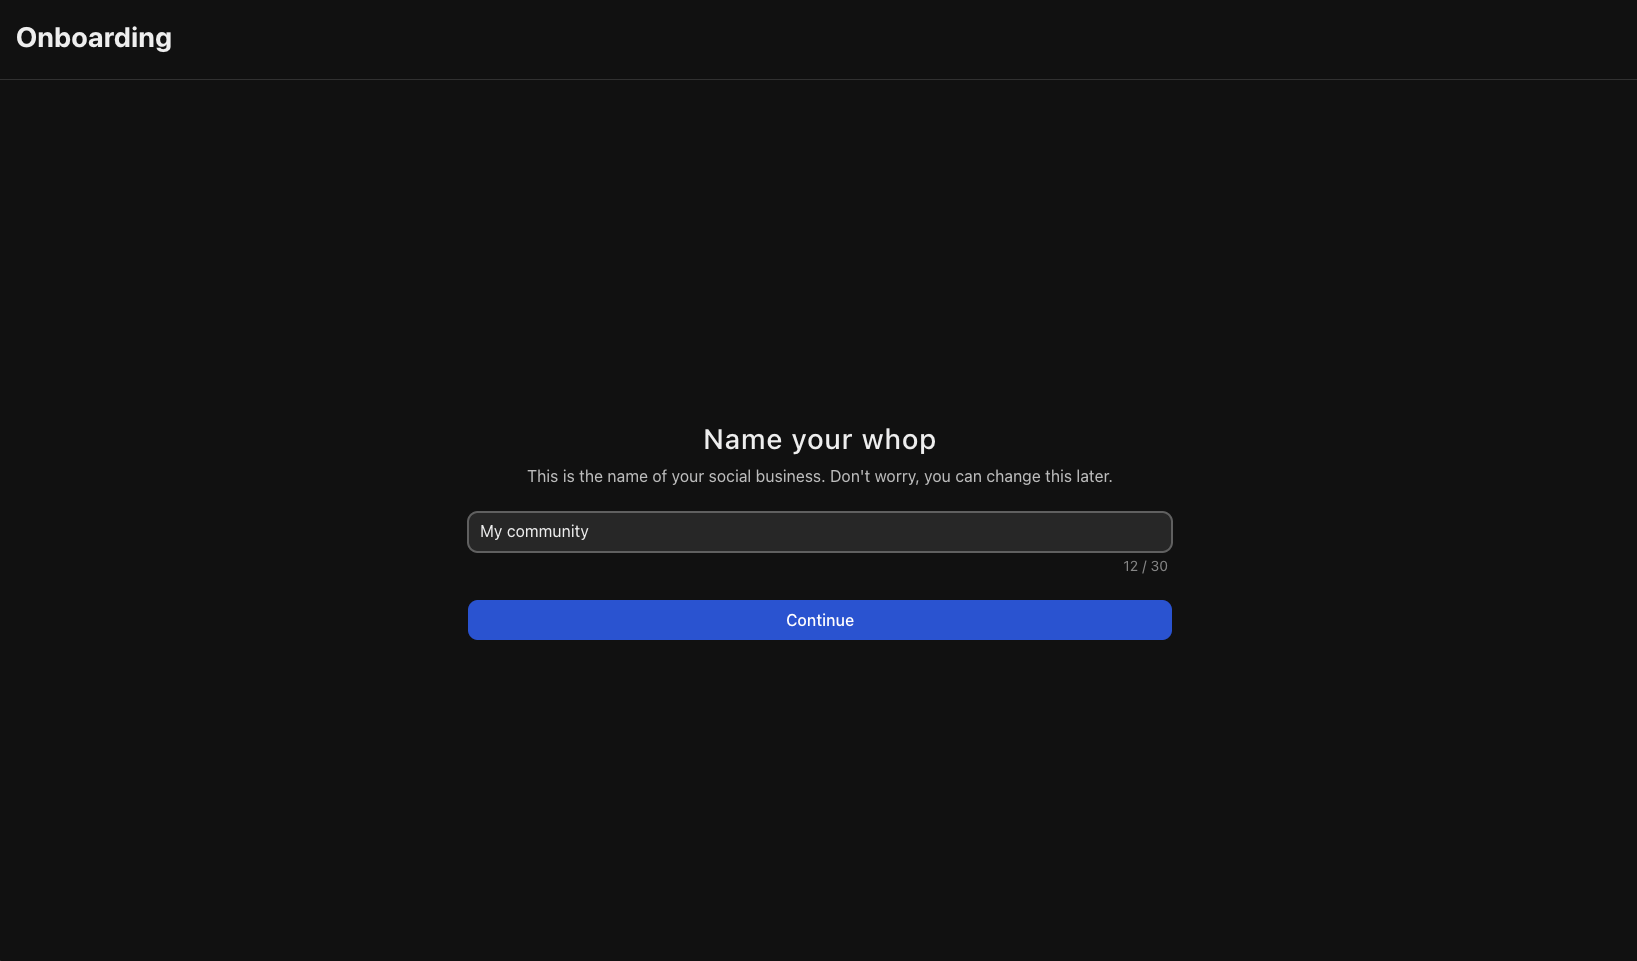
- Choose a memorable name for your community
- Select your custom URL
- Complete the basic setup
Add the Forums app to share updates and announcements
The Forums app is your primary channel for communicating with your entire community. This is where you’ll share important updates, announcements, and valuable content that all members should see. Popular forum uses include:
- Announcements: Share important community updates, new features, and policy changes
- Daily updates: Post regular insights, tips, or industry news relevant to your community
- Success stories: Highlight member wins and achievements to inspire and motivate others
- Weekly roundups: Summarize key discussions, share upcoming events, or recap important content
- Special offers: Announce exclusive deals, promotions, or limited-time opportunities for members
- New resources: Alert members when you’ve added new courses, content, or tools
- Event recaps: Share highlights and key takeaways from live sessions or workshops
Add the Chat app
Give your members a place to talk, share tips, and hype each other up. Add the Chat app and customize it for your community’s needs: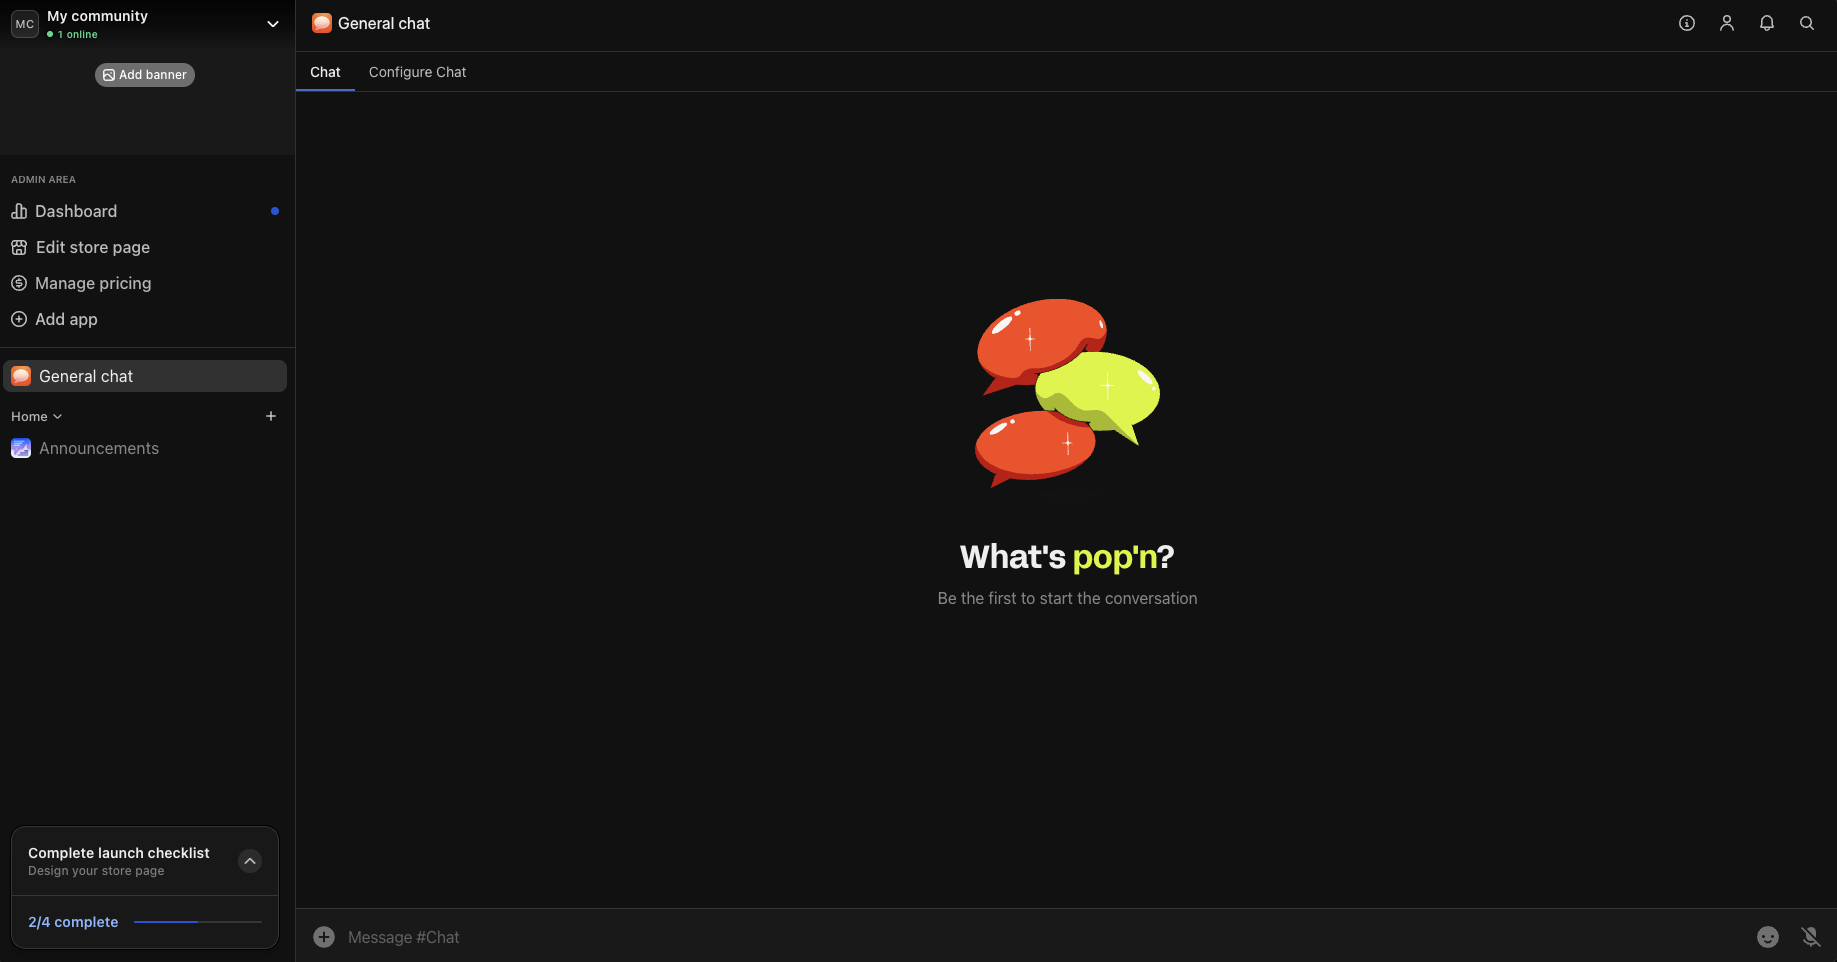
- General chat: Main conversation space for casual discussions
- Introductions: Help new members connect and introduce themselves
- Topic-specific chats: Focus conversations around specific interests or goals
Provide learning resources and materials
The most successful communities provide resources and learning materials that help their members achieve their goals. Here’s how:
- Add the Courses app
- Onboarding course: Walk new members through your methodology and approach
- Skill-building series: Teach core concepts and techniques in your area of expertise
- Call recordings: Store all your live session recordings so members can access past content anytime
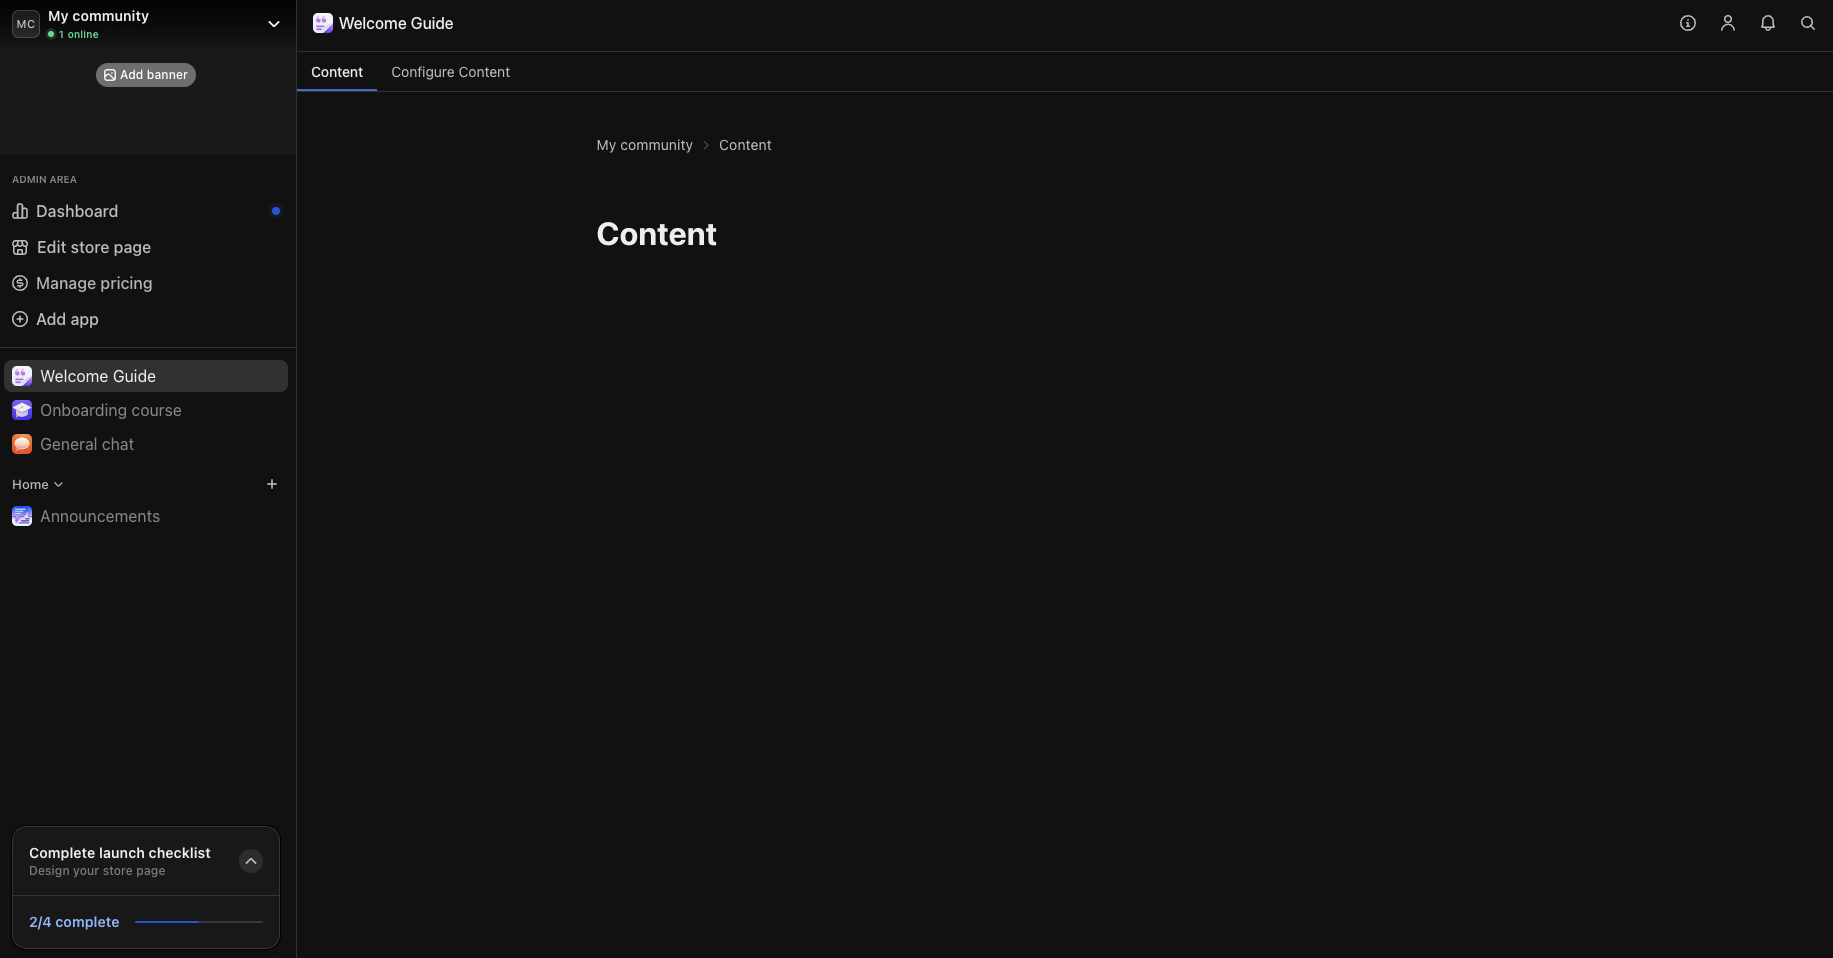
- Add the Content app
- Welcome guide: Help new members understand how to get the most value from your community from day one
- Community guidelines: Set expectations for behavior and participation
- Resource library: Share templates, checklists, and reference materials
-
FAQ section: Answer common questions to support members and reduce repetitive inquiries
Add the Events app to schedule live sessions
The Events app makes it easy to schedule and manage all your live sessions. Whether you’re meeting in person, on Zoom, Google Meet, or using Whop’s built-in livestream, your members can: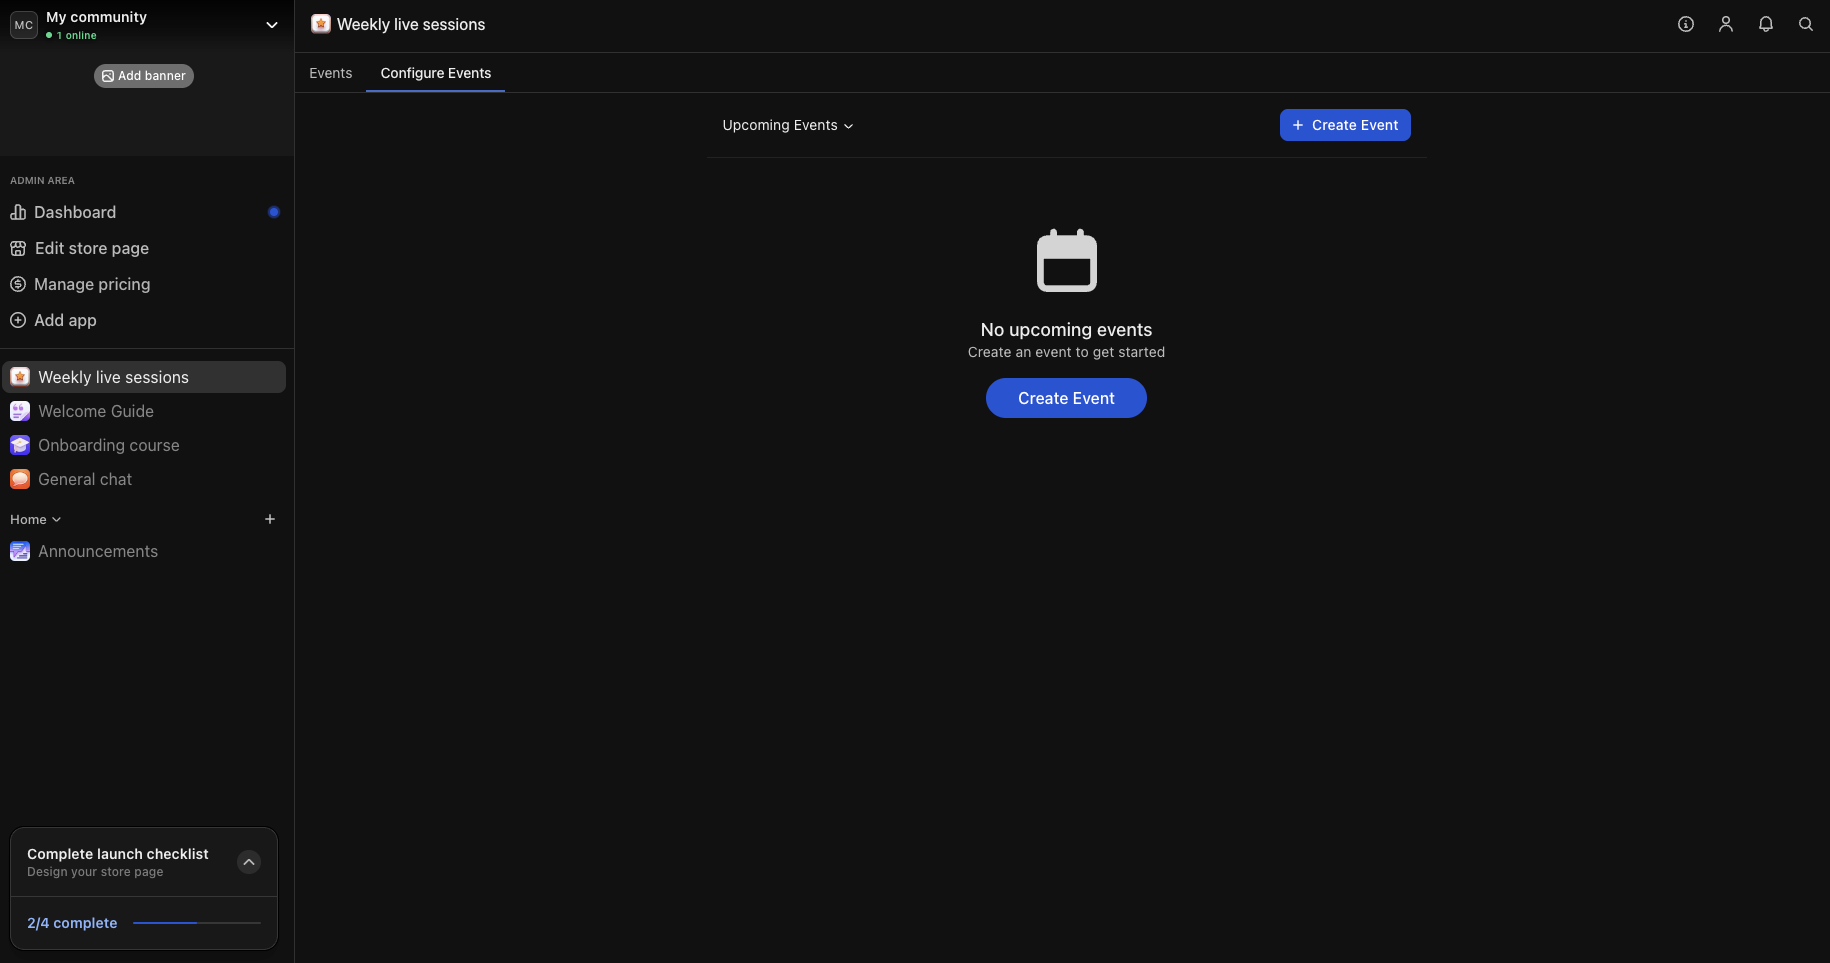
- See all upcoming events
- Add them to their calendar
- Get notified before the event starts
- Weekly live sessions: Regular training, Q&A, or discussion sessions
- Monthly workshops: Deep-dive training on specific topics
- Guest expert interviews: Bring in outside experts to share knowledge
- Community meetups: Social events to strengthen member relationships
Design your product page
Your product page is where people can learn about your offer. Click Products in your dashboard, then select Create product to open the editor. Use the fields and sections to customize your page:
- Select the appropriate category: Choose the category that best fits your business (e.g., AI, Coaching, or Events) to help people discover your product when browsing Whop.
- Choose a product name and headline: Make it clear what your product offers and who it’s for. Examples: “AI Tools for Marketers” or “Coding Bootcamp for Beginners.”
- Write a compelling description: Focus on the value customers receive and how your product helps them achieve results. Highlight benefits like expert guidance, exclusive resources, or community access.
- Set pricing: Choose between free, one-time, or recurring payments. Add multiple pricing options if you offer tiers or different levels of access.
- Add features: List what members will gain (e.g., “Weekly live workshops,” “Private chat access,” or “Course library”).
Set up pricing
Set up your pricing to choose how much your members pay to get access to your community.
- Go to your whop > click Products > click Add product
- $30/month for full access
- $200/year for a yearly pass
Next steps
Grow your community on Whop
Learn how to use Whop’s tools and features to get more members in your
community.