How it works
For prospects: Create a free whop with your case studies, resources, and a call booking link. For clients: Send private checkout links, collect payments, and give access to private project spaces where you can chat, share deliverables, and manage timelines.Launch your agency on Whop in 9 steps
Create your whop
Head over to whop.com/sell and get your community up and running: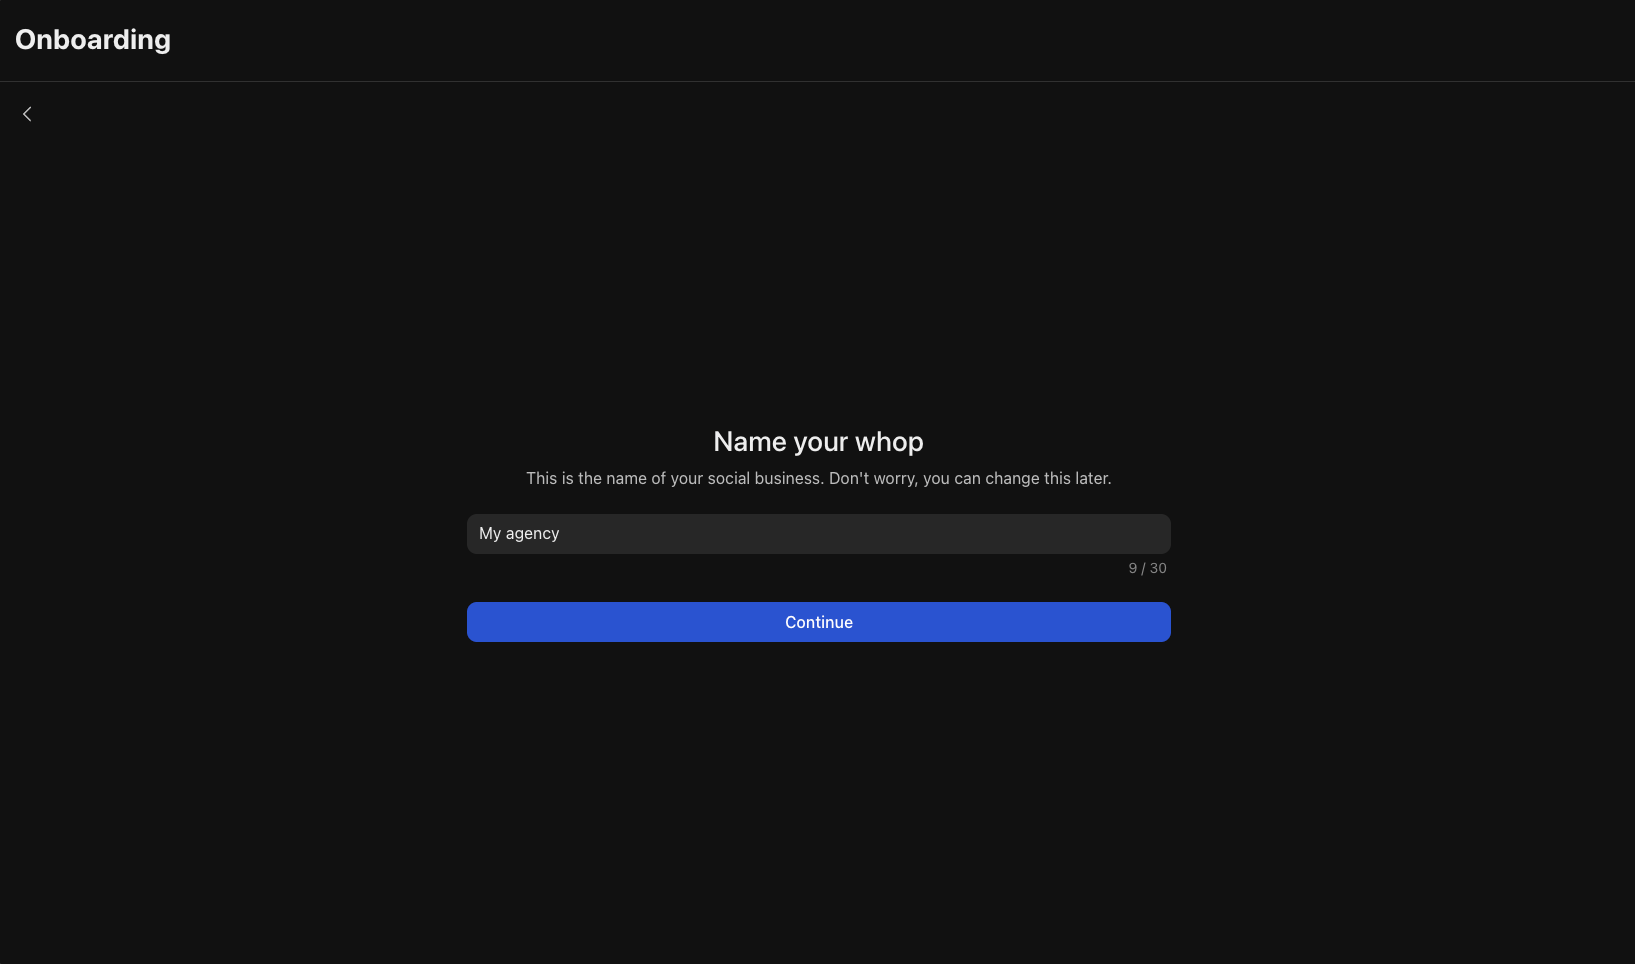
- Choose a memorable name for your agency
- Select your custom URL
- Complete the basic setup
Add the Calendar Bookings app
Just like Calendly, this app allows you to set up your calendar so prospects can schedule discovery sales calls with you.
- Add the Calendar Bookings app from the Whop App Store, then click Configure Calendar Bookings to set up your availability
- Click Add availability or + at the top right
-
Add the:
- Title
- Duration
- Meeting link/Location
- You can optionally add a Description and a Price per booking
- Click Continue
- Select the Days and Time you’ll be available
-
Click Create
Add the Files app
Add high value materials and documents using the Files app to turn your whop into a lead magnet.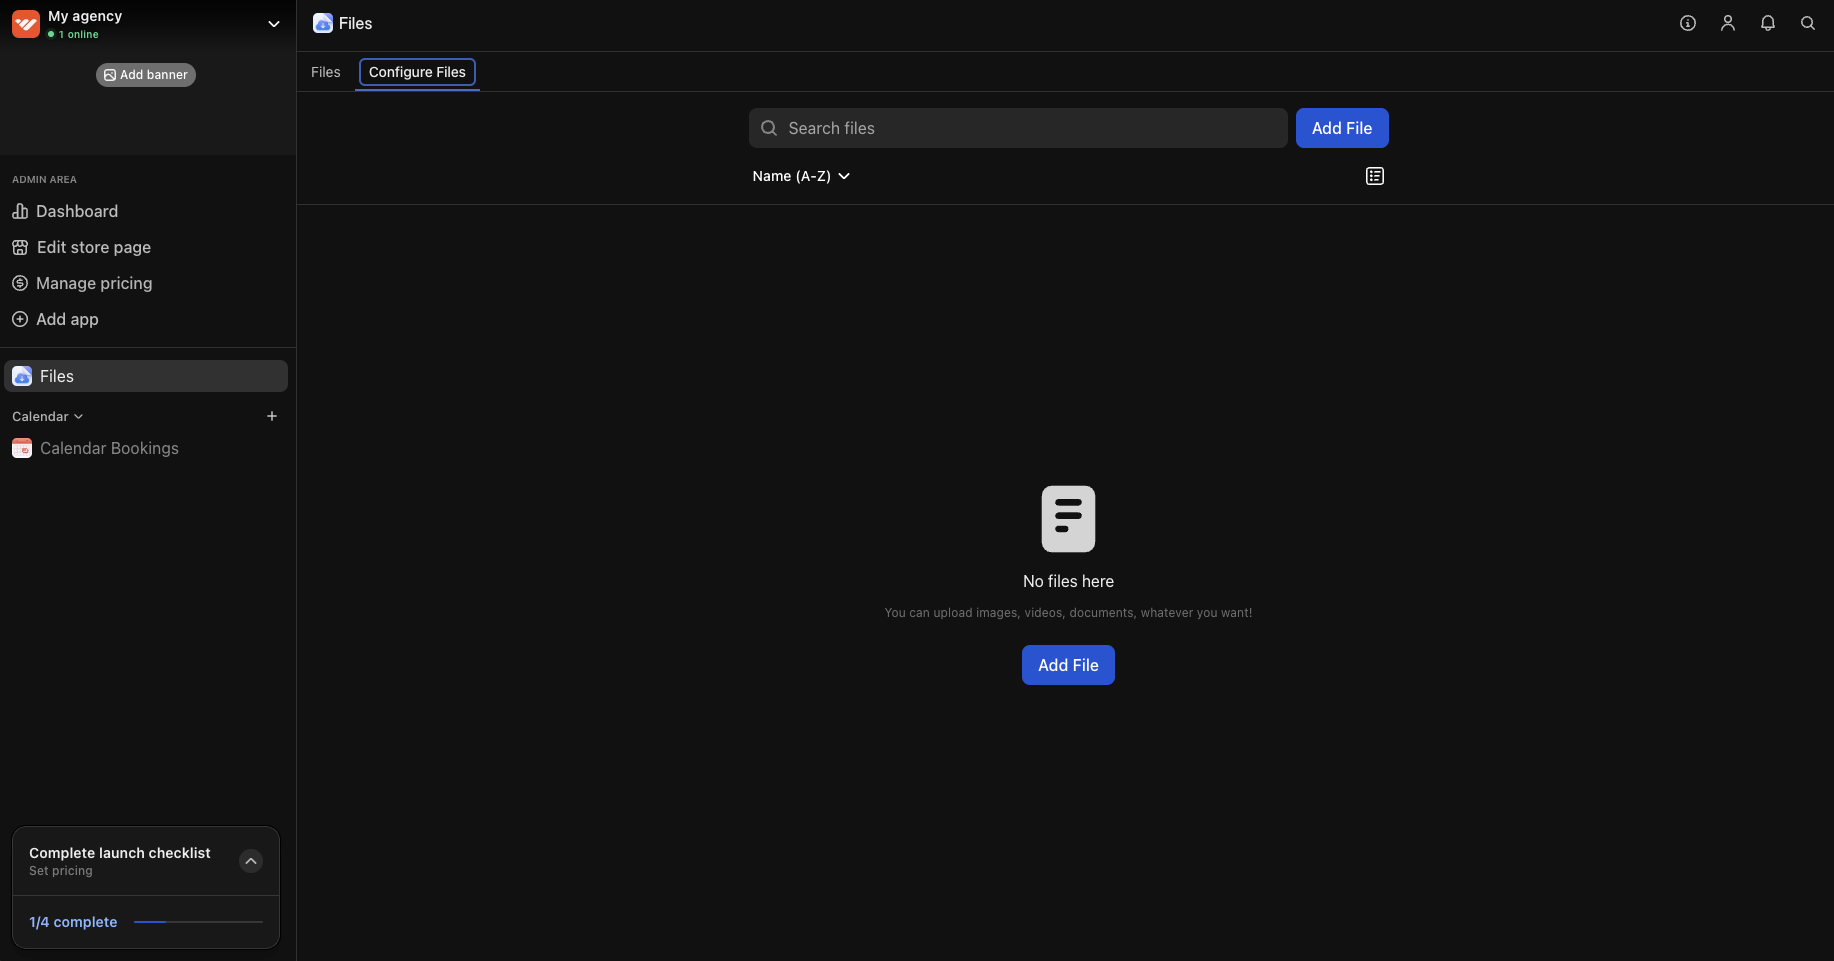
- Case studies: Showcase client work, before/after results, and success stories
- Free resources: Upload templates, audits, checklists, or anything you’d normally offer as a lead magnet
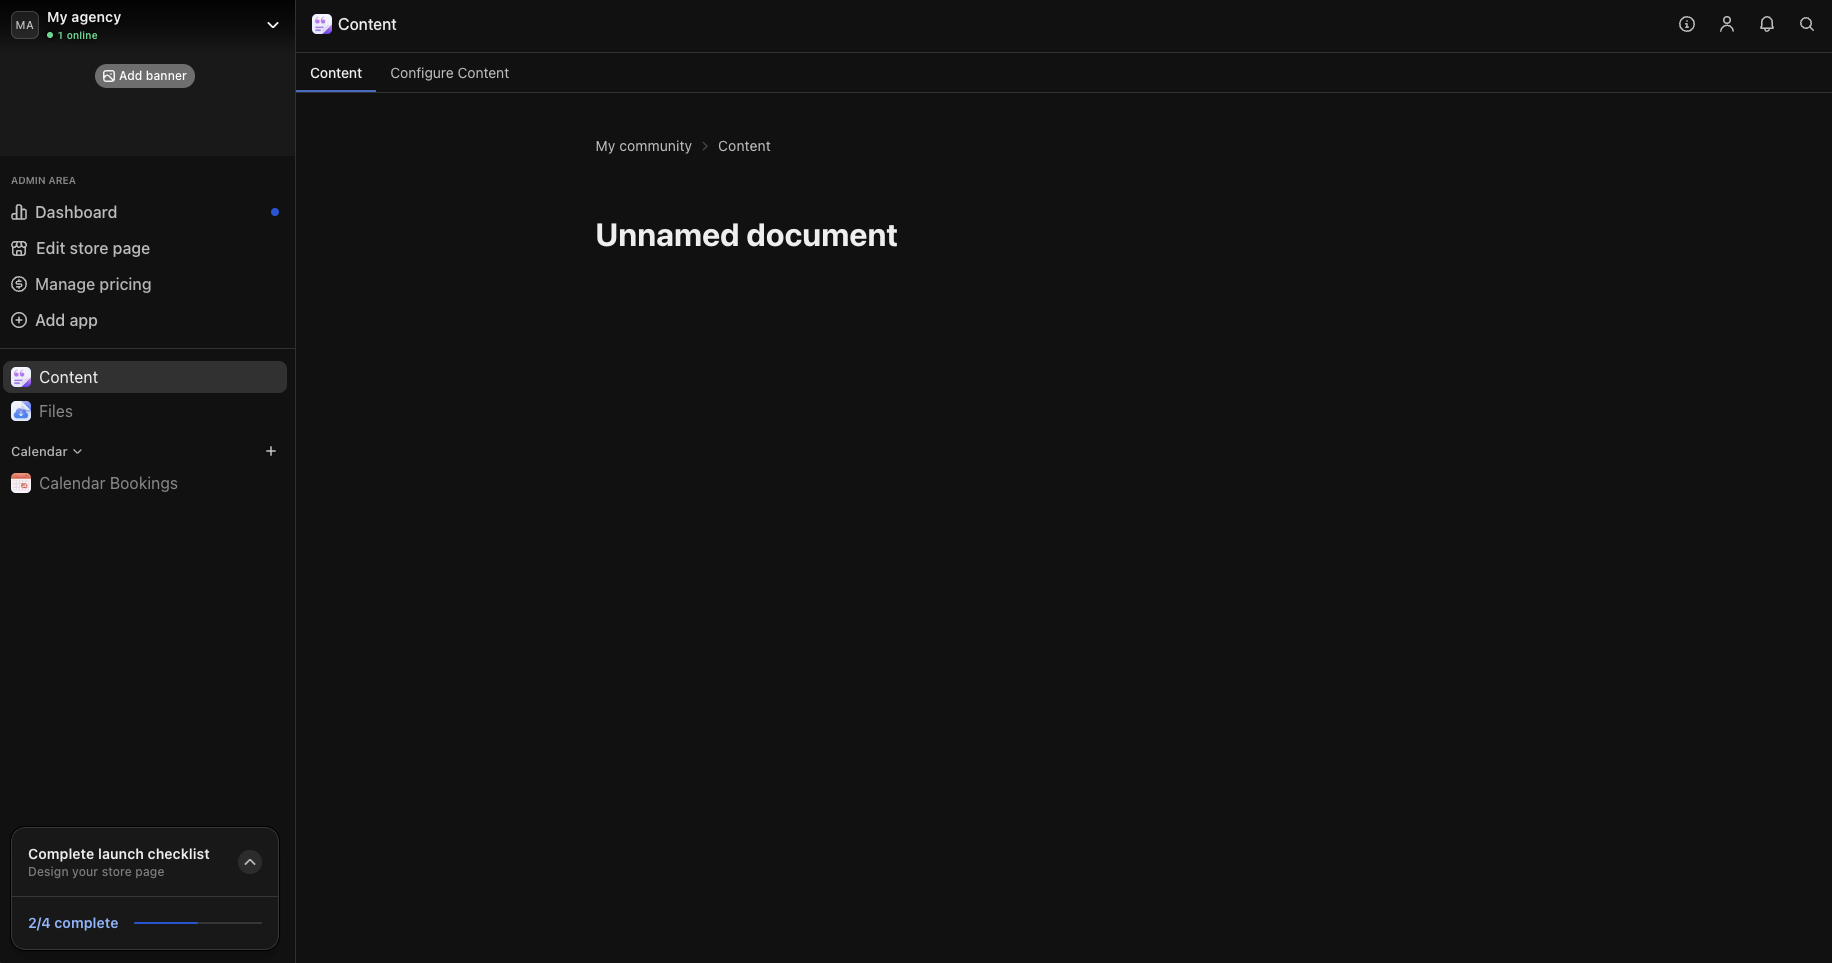
Add the Content app
The Content app gives you unlimited flexibility to share text-based resources with your prospects.
- Welcome guide explaining how prospects can get the most value from your whop
- FAQ section answering common questions about your services
-
Your methodology or approach to solving client problems
Add the Chat app (optional)
Consider adding a community element to your whop where prospects can ask questions, engage with your content, and stay connected with your agency. Add the Chat app from the Whop App Store and rename it to “Ask questions” or “General chat”. This creates a space where prospects can: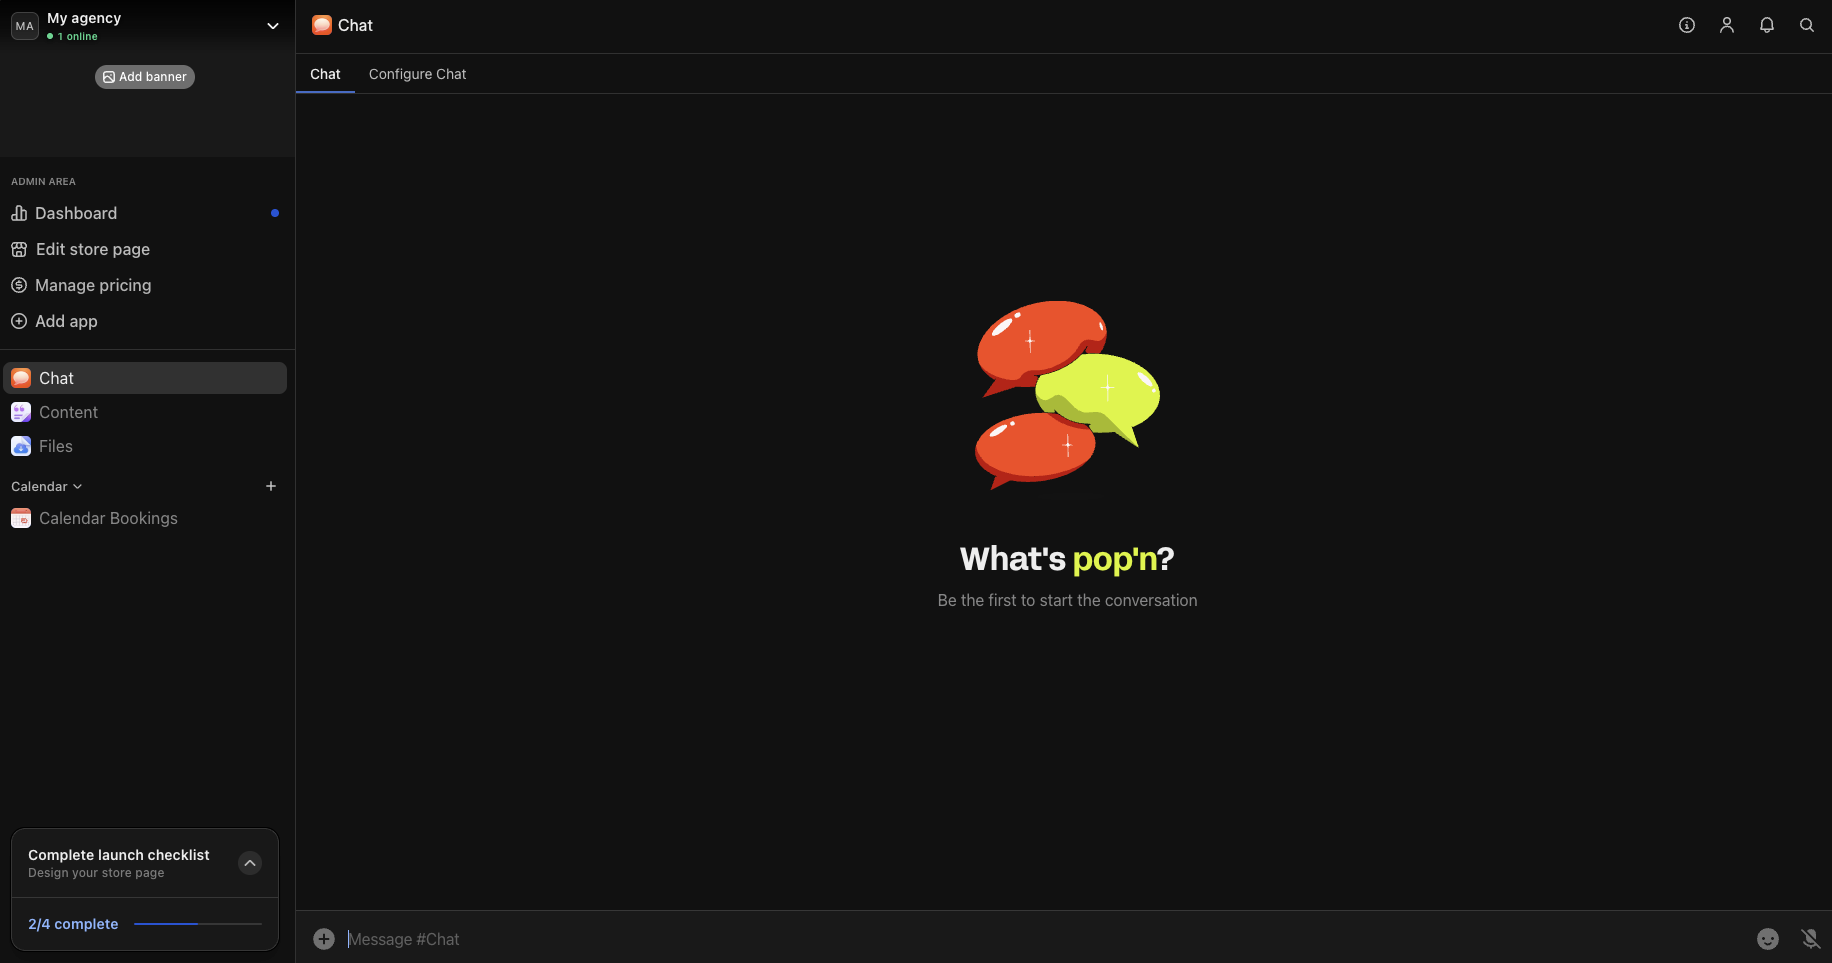
- Ask questions about your area of expertise
- Get quick answers and build trust with your agency
- Connect with other prospects
Set up a free pricing model
Now that you’ve added your apps, create a free product that gives prospects access to everything.
- Go to your whop > click Products > click Add product
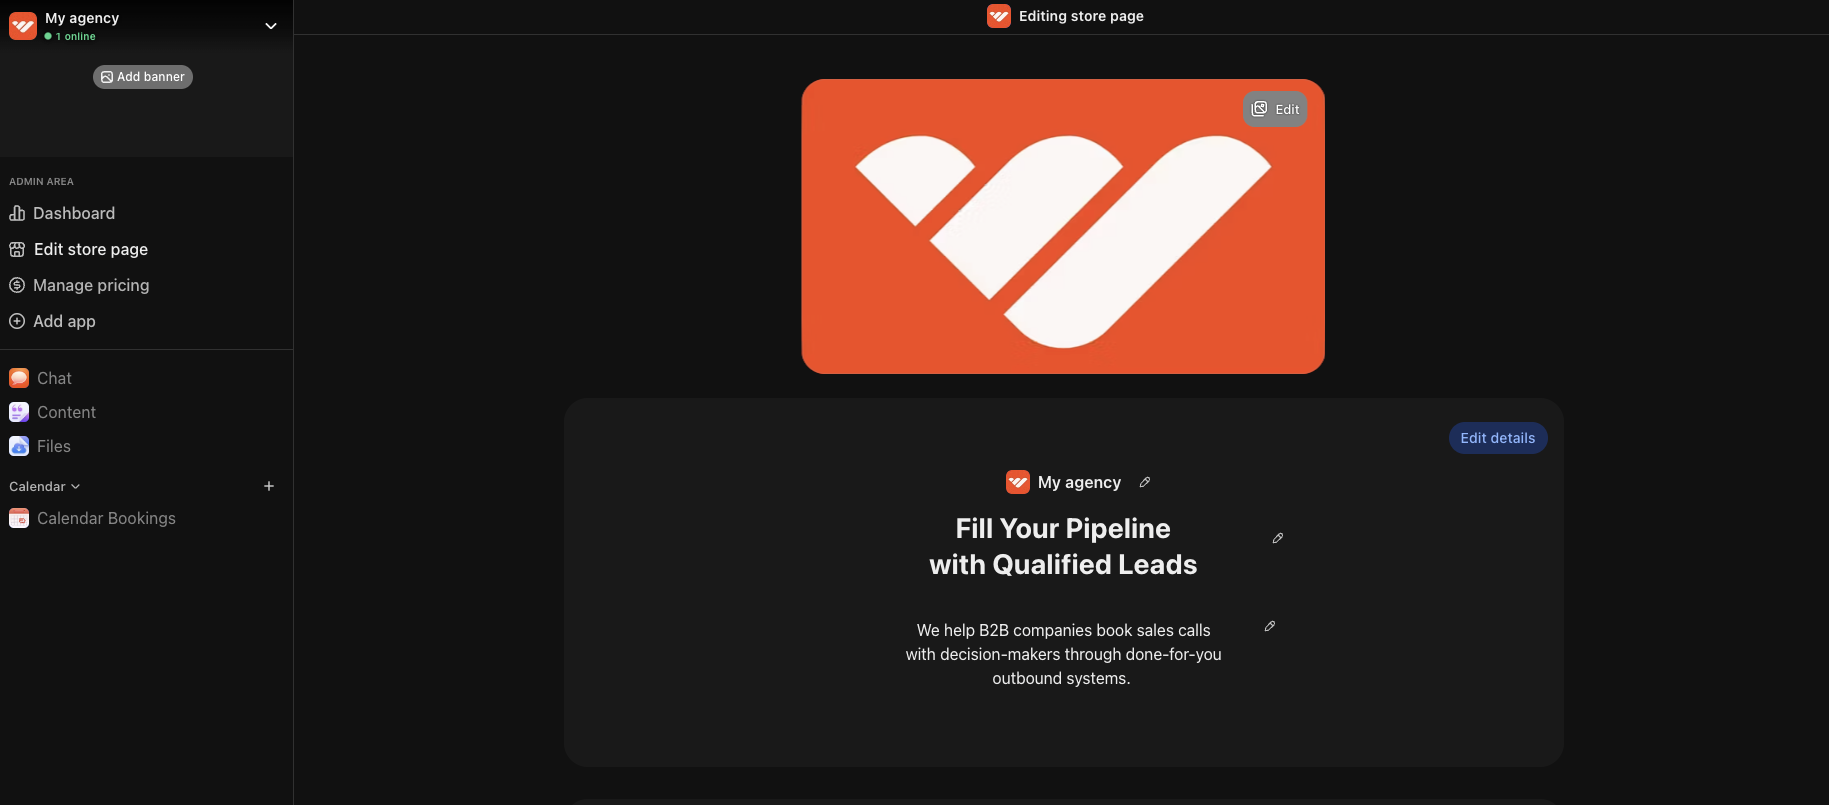
Design your store page
Your store page is where prospects decide whether to join your agency’s free whop. Click your whop name in the top left, then select Design store page to open the editor. Click Edit details to customize:
- Choose a clear name and headline: Make it immediately obvious what your agency offers and who it’s for
- Write a compelling description: Focus on the results you deliver for clients
- Upload a clean logo: Even a simple logo builds credibility and makes your agency look legit
- Add gallery images or video: Include case study screenshots, client testimonials, or a brief welcome video that builds trust and showcases your expertise
-
Select “Agencies” as your category: This helps people discover your services when browsing Whop
Convert leads into paying clients
When someone books a call through your Calendar Bookings app and decides to work with you, you can create a paid product (and checkout link) for them. When you close a client, you have two options:
Option A: Use Whop for payment processing only
Choose this option if you just want to handle the payment through Whop and manage everything else with your current tools.- Create a new product specifically for that client
- Set your pricing (one-time project fee or recurring retainer)
- Don’t toggle on any apps for this product
- Send them the private checkout link to complete payment
- Manage project delivery through your existing tools
Option B: Create a complete client portal
Give your client a dedicated space inside your whop where you can communicate and share project materials.- Create a new paid product for the client
- Set your pricing structure
- Add apps in your whop that are only accessible to this client:
- Chat: Private 1:1 communication channel
- Files: Upload deliverables, contracts, and assets
- Events: Schedule review sessions, deadlines, and milestones
- Content: Share project briefs, strategy documents, or progress updates
- Calendar: Allow clients to book additional calls or check-ins
- Hide this product from your public store page
- Send the private checkout link after your sales call
Manage your team
As your agency grows, you can add team members.You can even pay your team through whop.Add internal apps that are only accessible to your team members to keep your operations running smoothly.
- Files: Store SOPs, templates, and internal documentation
- Chat: Create team communication channels
- Events: Schedule team meetings and deadlines
- Calendar: Allow team members to book 1-on-1s with you
Next steps
Grow your agency on Whop
Learn how to use Whop’s tools and features to get more clients.